Benchmark Electronics KUKA Robot Arm
Summary
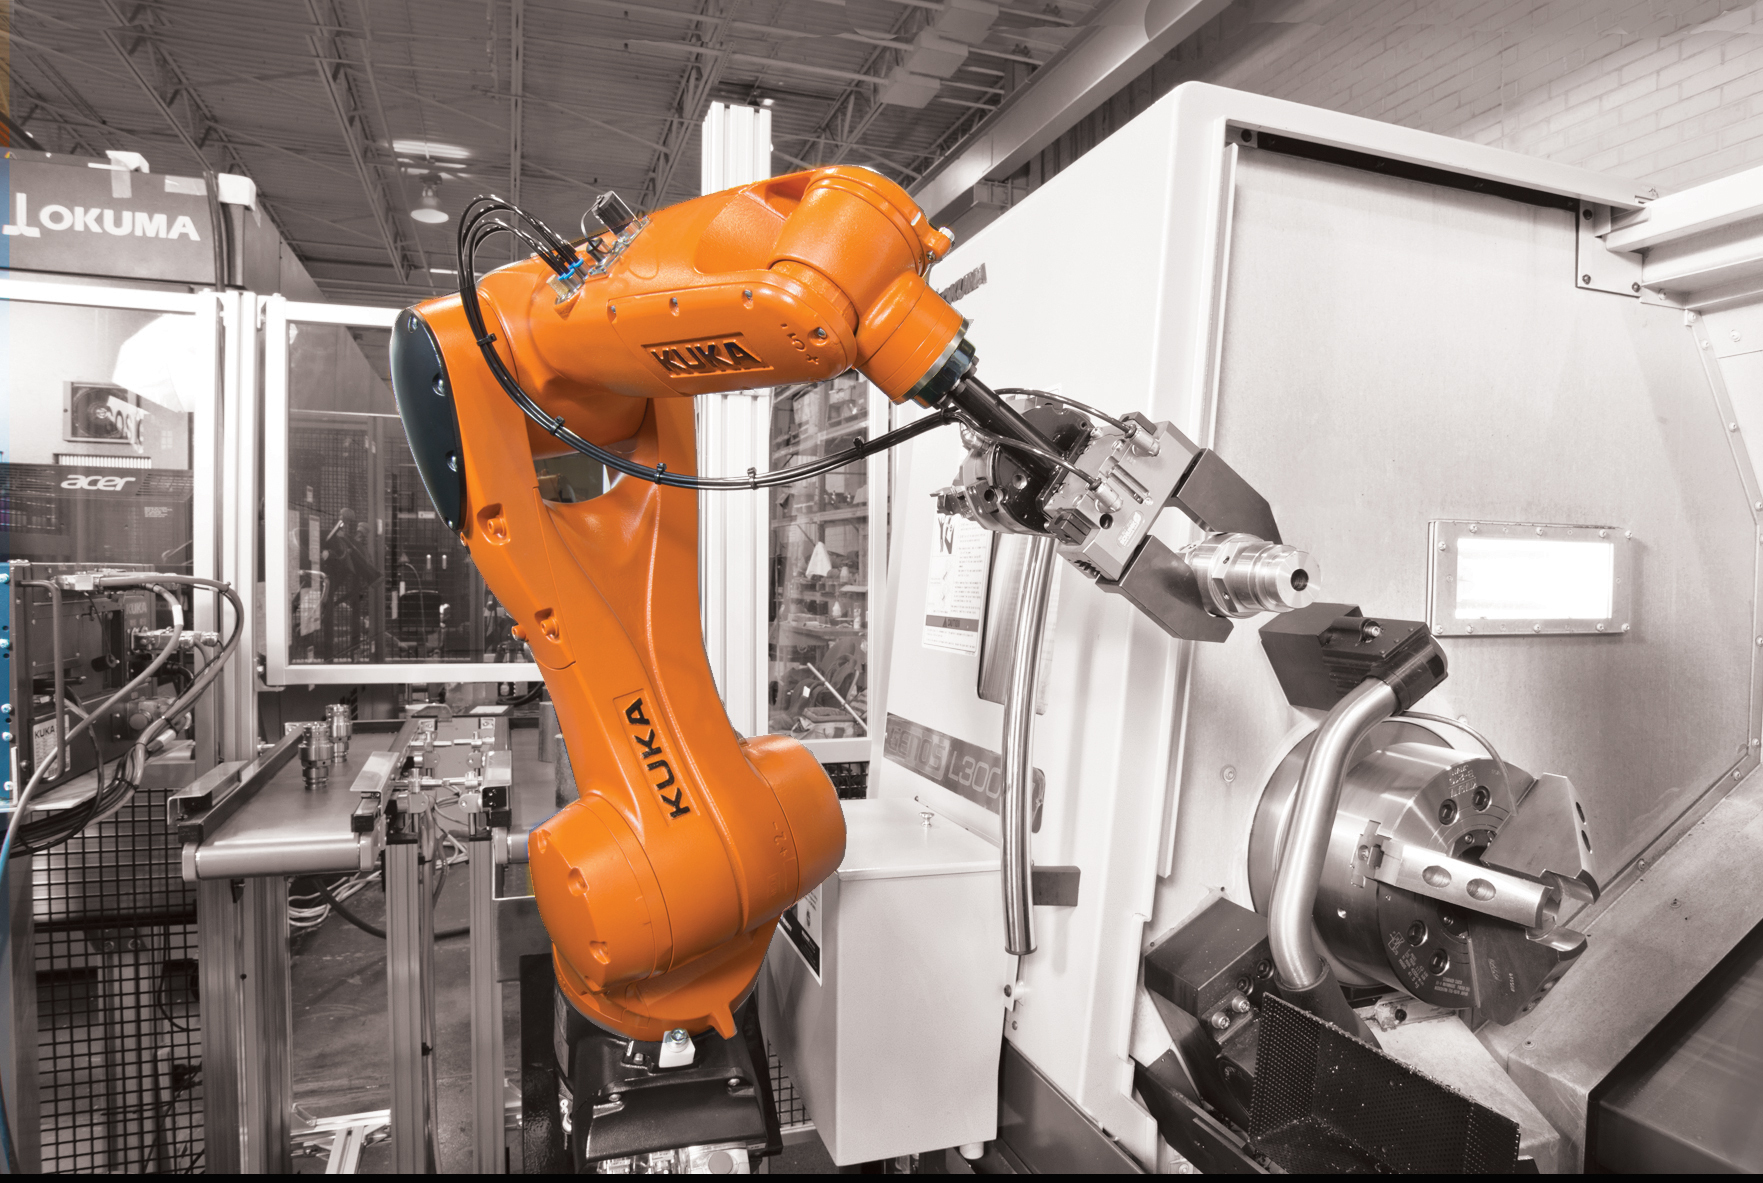
At Benchmark Electronics I programmed and operated a KUKA Robotic Arm. I programmed the Robot arm to autonomously pick up tools, pick up and flip products, deburr holes, polish surfaces and brush edges. The potters wheel was equiped with an encoder and used to autonomously spin the different parts around. I used this to align holes to be deburred and to sping the product in the opposite direction as the arm, allowing for a smoother finish when polishing. This was all done in the KUKA programming language, where I utilized basic data structures and different loops to complete repetitive routines.
Full Process
I started this project by observing how the parts were currently being manually deburred. This process was especially strenious and tedious for the workers. The gas gasket itself was not complicated to deburr fully, but took lots of repetition and continual force from the workers that was hurting their health, which started this automation project.
Picking a tool from the rack
The arm needed to use a variety of diffferent tools to fully deburr the gas gasket. Different materials, shapes, and hardness were required to get the correct finish. To easily have the robot automatically replace its tools, we built a tool rack that the arm could simply pick and place the different tool bits from.

Deburring the top of the gasket
The first step in the deburring process was to place the gasket on the rotating table and fully deburr the top side. This includes the surfaces, ridges, and holes, which required many different tools to be swapped between in order to fit the different requirements. Here are just some of the steps.
Precisely deburring the holes

Deburring the large top surface of the gasket

Manually flipping the heavy gasket
The next step was to manually flip the gasket over, so that the bottom could be deburred. Initially, we wanted the arm to flip the gasket over itself, to make this entire process autonomous. However, this proved to be too difficult and too dangerous, as the gas gasket was far too heavy and difficult to hold for the robot arm to be able to safely lift and rotate it fully. With our tight deadline we decided to just manually flip the gasket over after the top was full deburred.

Deburring the bottom of the gasket
The last step is simply to fully deburr the bottom of the gasket. This does not require as many steps, as most of the holes are on the top of the gasket. All that is required here is deburring the different indents, which can all be done with the same tool.
Deburring the smaller indent on the bottom of the basket

Completion
This covers all the required steps to completely deburr a gas gasket. This proved to be very useful in the long run, and we were able to get many gaskets ran through this single arm during my time at Benchmark. The robot arm also proved to be useful in deburring and finishing other parts as well. Overall, I was very pleased with the outcome of this project. This was my first experience with Robotics in a professional setting, and it was a great learning experience for how robotics is used in the industry.